

A Few Months With The Fjord 36 - A User Review
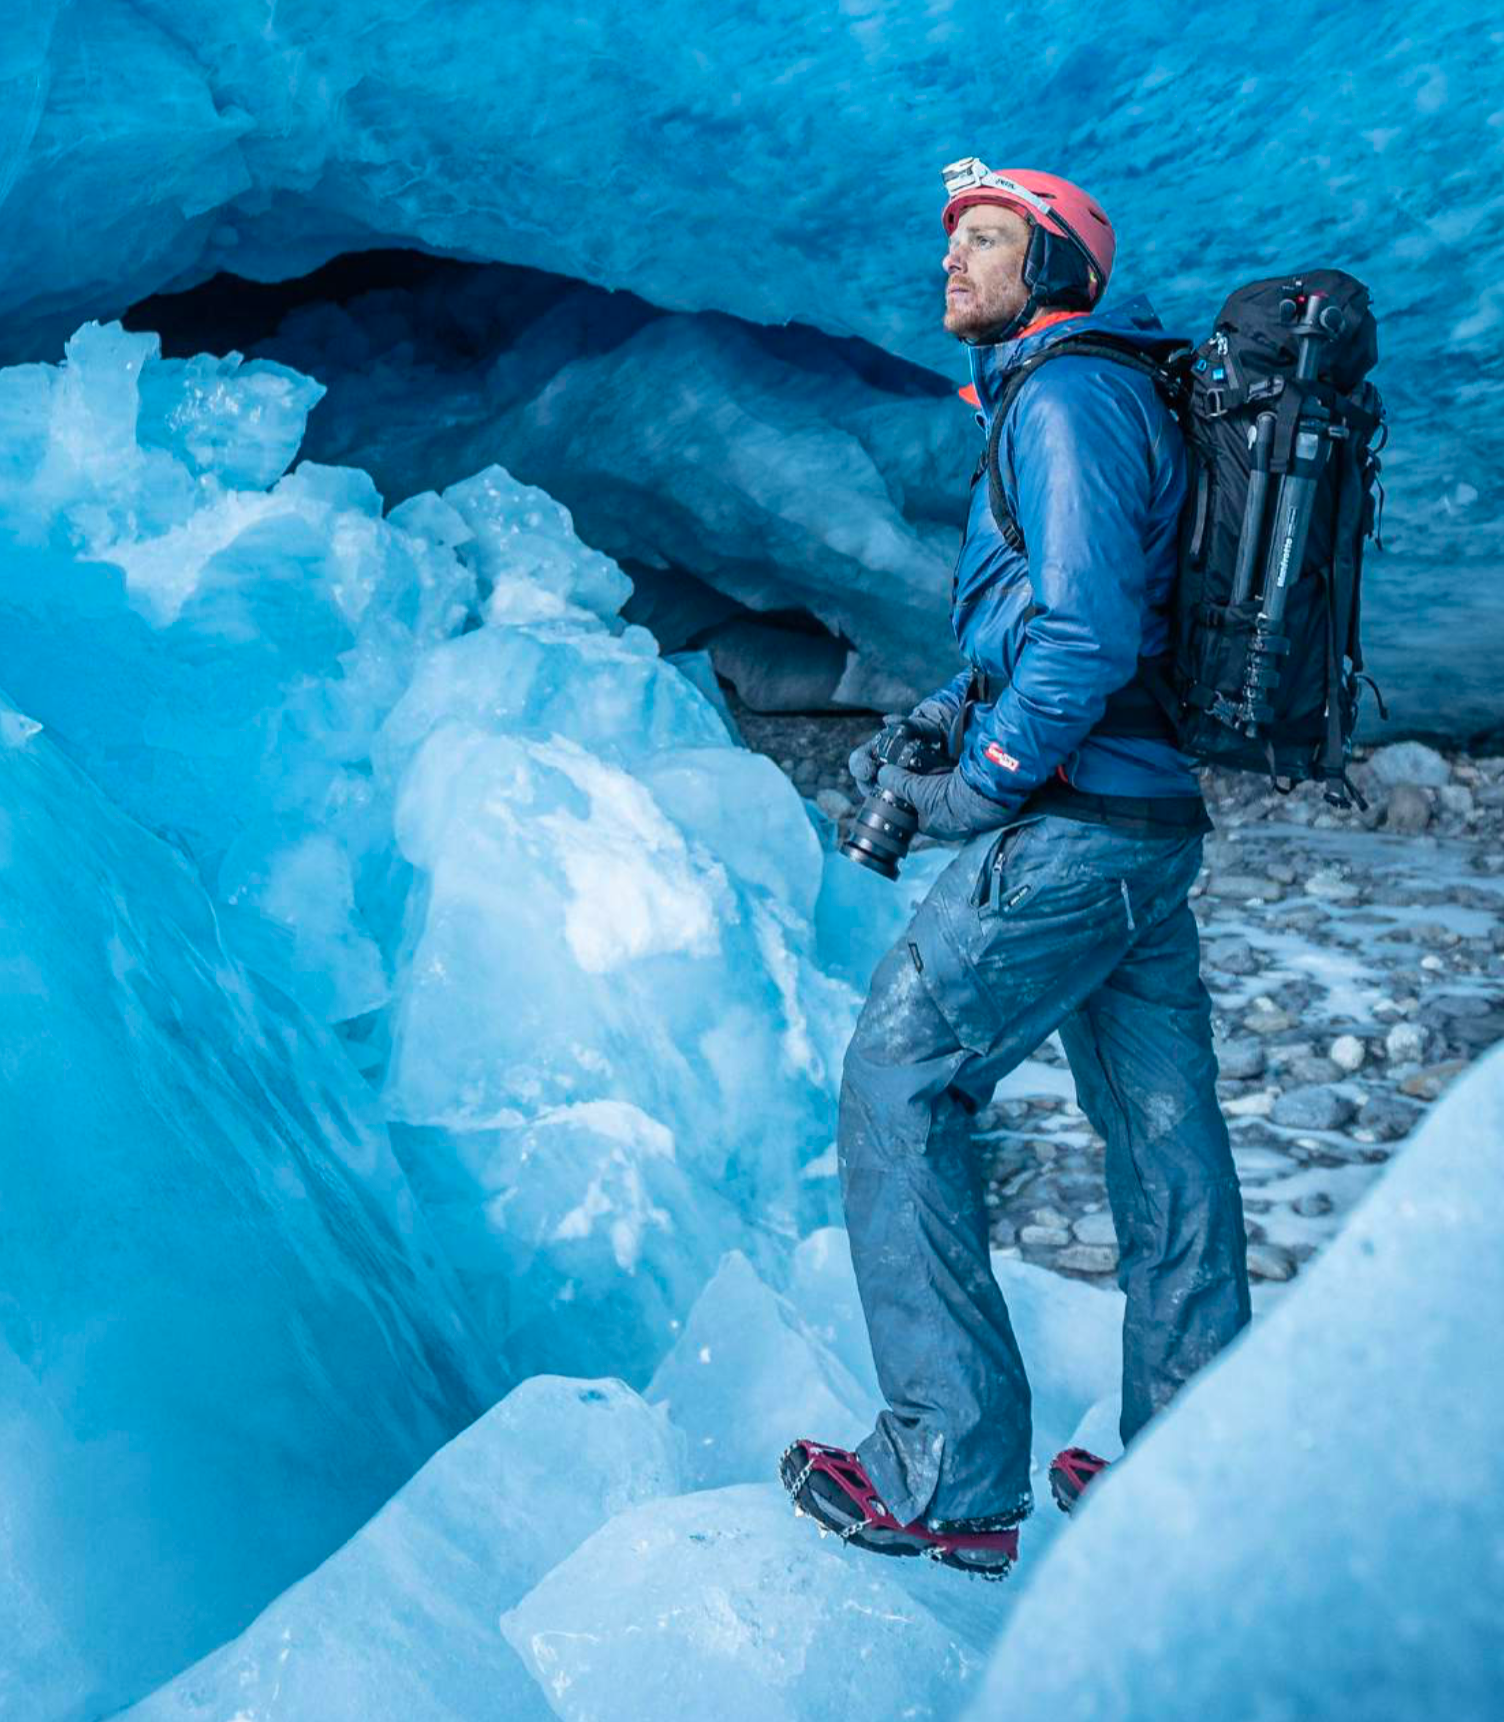
Based in Canada, adventure, portrait and lifestyle photographer Cameron Eng gives his thoughts on the Fjord 36
FJORD36 Review
I’ve been using the FJORD 36 from NYA-EVO for a few months as of now and had fair amount of time to get to know the bag while using it on all my adventures. With its use, I no longer have a desire to look for any other camera bag or backpack for that matter. Although this is a review, I won’t be covering how to set up the bag with the RCI’s as I found the information on the website quite easy to follow. Instead, I’m going to be going over the bag, what I like about it, and how I use it personally.

Overview
When I first received the pack, I was surprised how small it packs down when there’s nothing in it. It’s so flat! So if you don’t have gear in there and you need to store it, the pack itself and the RCI can be compressed down to take up less space. When set up with the RCI in the pack, the bag retains its rigid, boxy shape. I really like this because unlike my last camera bag, it stands or lays flat and won’t tip over. It also feels very lightweight including its aluminum frame for better support. I find the pack to be very comfortable to wear - even weighed down with all my gear (which I’ll list below).

Quality
The quality of this pack is phenomenal. Everything from the zipper pulls, to the material of the straps and the bag itself. I definitely feel like it’s going to last me a long time. Again, the pack is super lightweight, but doesn’t feel like it’s made out of cheap material. The outer material of the bag is thin, light, and water resistant. Though it does come with an actual waterproof rain cover, I’m confident that unless it’s a torrential downpour, my gear is going to stay dry. The buckles and clasps are made of plastic, not metal. However, they do feel solid and durable and fits with the pack as it’s meant to be lightweight. I don’t see how metal buckles would make much any significant difference here. The bottom of the pack has a somewhat grippy material. It feels quite strong and will resist dirt and moisture when placing it down. Another little feature I like over my previous bag.

Customizable For Camera Gear
The FJORD 36 is such a versatile pack - especially with the RCI (removable camera insert) units available. With the RCI’s you can customize the bag to meet your needs. In mine, I have the large one, which is more than enough to hold all my camera gear and more. The RCI is quite deep -almost too deep, at least for smaller camera systems. I shoot on the Fuji mirrorless system and the lenses I have are quite small so it would be nice if there were padded inserts to stack lenses. The good part about deep compartments is that I can easily fit my Fuji XT2 vertically, or with the battery grip on it with no problems. The best part about the RCI is how many extra padded inserts there are (aside from ones to allow you to stack lenses). You can truly customize the configuration of the bag in so many ways to fit any gear and make it work the way you want. For me, I shoot several different cameras and many different types of film cameras so I really enjoy being able to make the compartments fit my gear perfectly.

One thing that I found to a bit of a nuisance was the shoulder and waist straps getting in the way when opening the back paned to access the camera gear. When opening the pack to reveal the RCI compartment, I lay the bag down and actually pull the shoulder straps up so they are out of the way. It makes it much easier for me to get gear in and out of the bag without the straps in the way. If I don’t do this, I did find that the straps would always get in the way all the time so I always have to lift the straps up. When open, the back flap has two extra zippered compartments. In here I carry extra rolls of film, memory cards, and filters. Below is what I typically always have in my bag when on a photo adventure.
Gear
- Fuji XT-2 with battery grip (main camera)
- 18mm F/2
- 35mm F/1.4
- Nikon FM2 (film camera)
- Nikon 35mm f/2
- Nikon 28mm F/2
- Cannonet QL17
- Olympus Infinity point and shoot
- Sekonic light meter
- Smallrig video handle
- Rode Video Micro
- Pouch with small accessories
- Filters
- At least a few extra rolls of film
- Hand warmers
- Macbook Pro
- Lacie external hard drives
The front of the bag opens up for extra storage. Here is where I would typically put my notebook and charger for my MacBook. It is the perfect size to even fit a 15” MacBook, but I actually put mine in the other main compartment behind the RCI. In the zippered mesh pocket I’d put my external hard drives when needed. There is also a slot for a hydration pack, which would come in super handy for longer hikes. However, there are two stretchy water bottle pouches on the outer sides of the pack and personally I just prefer carrying my water that way. It’s nice to know that the hydration feature is there but doesn’t take up any extra space.

Moving to the top of the bag, this is where you can unzip the main compartment above the RCI. With the large RCI, I have a bit of extra space to put spare socks, gloves and a toque (or beanie). There is another zippered mesh pocket inside as well which is where the rain cover goes and I also put some extra hand warmers in there too. I like to make sure I have extra gear to keep warm during the Canadian winters. Now, behind the RCI is where I actually place the lid for it. I do this so make a protective sleeve and this is where I put my 15” MacBook Pro when I need to take it with me. The reason I put my MacBook here is because I feel that it brings the bulk of the weight closer to my body, making it much easier to carry.
Additional Features
I don’t often shoot with a tripod, but when I do need to carry it with me, I did find it easy to use one of the two water bottle holders on either side to work fine, putting the bottom of the legs in it and then using the upper strap to hold the top of the tripod in place.

Another feature I like about the pack is the waist straps. They’re usually tucked and wrapped back around the front of the bag and out of the way. But on other occasions where my bag is heavier or if I’m wearing it for extended periods of time, it’s so easy to unbuckle it and have it right there available when needed.
(Waist straps clipped in the front, out of the way)

The last thing I wanted to go over is the helmet holder. I haven’t had a reason to use it yet, but I imagine it would come in very handy in the spring, fall, or colder summer days. Rather than using it for a helmet, I’d probably go ahead and use it as an easy way to hold a jacket or sweater if I need to shed a layer. That way it won’t take up any extra space on the inside of the bag and it’ll be easier to access if I need to put it back on.
Conclusion and Final Thoughts
Now I definitely did not cover everything there is to know about this bag. This is just specifically how I use it and what I like about it. So hopefully if you read though it, you were able to get some insight on it. This bag is jam packed with so many features; it’s fit for so many different people yet- it doesn’t seem like the “jack of all trades, master of none” type feel. It does a lot of things and it does them all very well. The best part about it for me is that I can use the features I need, and some of the other features that I may not use as often, doesn’t interfere with the rest of the bag as if it wasn’t even there at all. That’s probably the best way I can explain it. One suggestion I hadn’t mentioned yet would be to have a quick way to access your camera. I did see a way to use the waist straps to access your camera gear without having to set down the bag, but the majority of the time, I’m not using the waist straps. It would be great to have a solution for easy camera access at all times. Overall, I’m super hyped about the pack. It is of extremely high quality and will be with me on all future adventures.
Leave a comment
Comments will be approved before showing up.


